How to Capture the Essence of a Destination Through Architecture Photography
16 January 2026
Visiting a new place is always an experience, but what if you could bottle up that feeling in a single frame? Architecture photography is one of the best ways to capture the soul of a destination, telling its story through lines, curves, and intricate details. If you’ve ever found yourself staring in awe at an ancient cathedral or a futuristic skyscraper, you know just how deeply buildings can reflect history, culture, and human creativity.
But how do you translate that into a photograph? Let’s dive into the ins and outs of architecture photography and how to truly capture the essence of a place through its built environment.
Understanding the Connection Between Architecture and Culture
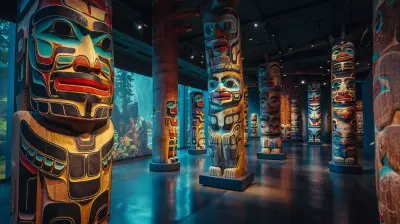
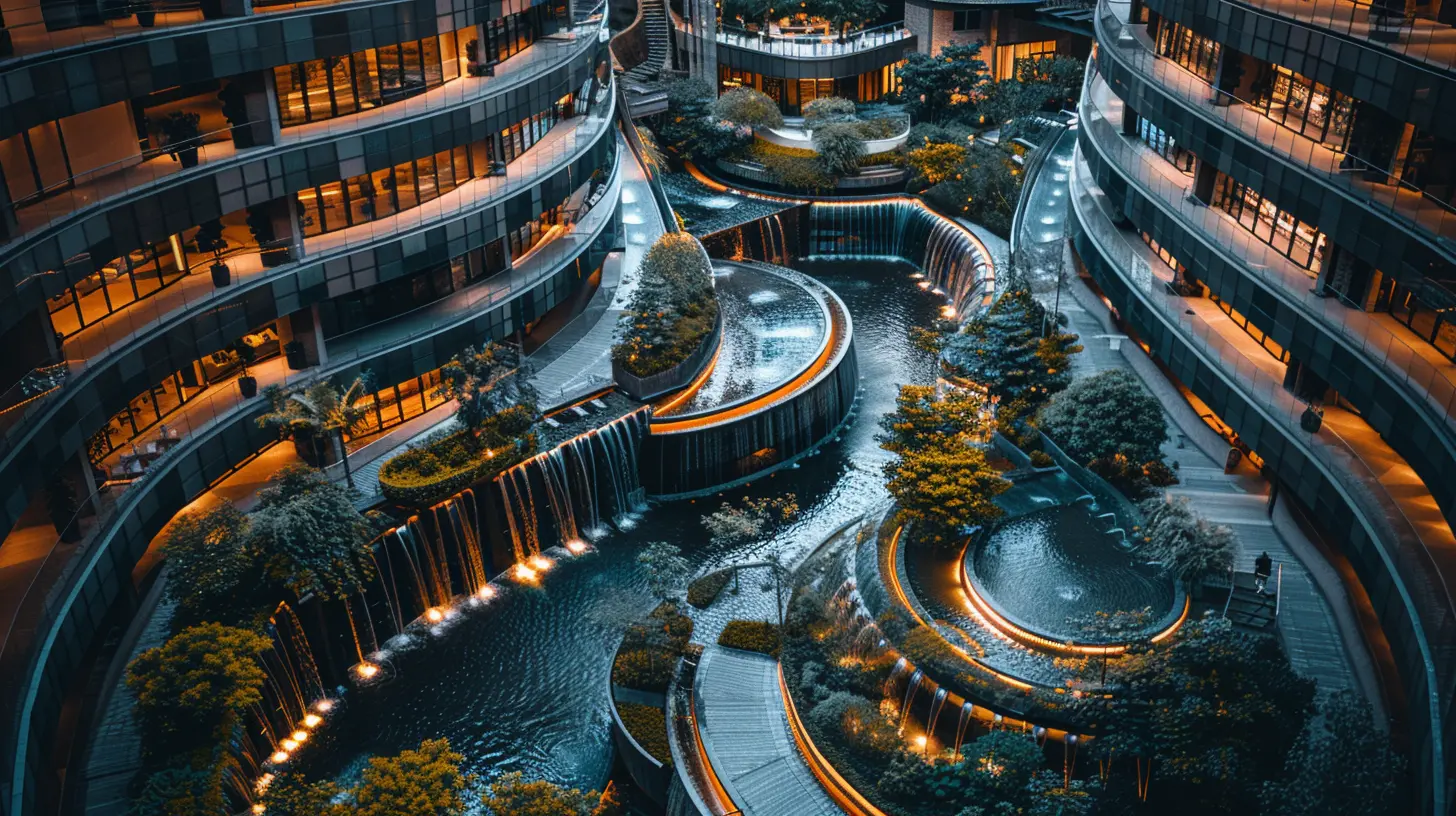
Buildings aren’t just structures; they’re storytellers. The temples of Kyoto whisper tales of the past, the Art Deco facades of Miami scream vintage glamour, and the domed mosques of Istanbul echo with history. Every destination has its own architectural fingerprint that makes it unique.When photographing a place, think beyond just snapping a picture of a famous landmark. Consider how the structures around you reflect the spirit of the city. What do they say about the people who live there? How do they blend with or stand out from their surroundings? Getting into this mindset will help you create images that feel alive rather than just aesthetically pleasing.
The Right Gear for Stunning Architecture Shots
While you can capture great architecture photography on a smartphone, having the right gear can make a massive difference. Here are some must-haves:- Camera: A DSLR or mirrorless camera with a high-resolution sensor works best for sharp, detailed images.
- Lens Choice: A wide-angle lens is ideal for capturing grand structures, while a telephoto lens can focus on intricate details. A tilt-shift lens can also help correct perspective distortion.
- Tripod: Essential for sharp images, especially when shooting in low-light conditions.
- Filters: A polarizing filter helps reduce reflections on glass buildings, while an ND filter can allow for long exposures.
Of course, gear alone won’t make you a better photographer—but it sure helps when trying to capture architecture in all its glory.
Mastering Composition for Impactful Shots
Good composition can take an ordinary shot and turn it into something breathtaking. Here are a few techniques to keep in mind:1. Use Leading Lines
Roads, corridors, staircases, and bridges naturally draw the viewer's eye into the frame. Position these elements creatively to guide attention toward the focal point.2. Play with Perspective
Shoot from different angles—low, high, or even diagonally. A worm’s-eye view can make a building look massive and imposing, while a bird’s-eye can provide a unique, all-encompassing context.3. Frame Within a Frame
Use archways, windows, or tree branches to create a natural frame around your subject. This technique enhances depth and draws focus to the architecture in an artistic way.4. Symmetry and Patterns
Some of the world’s most mesmerizing structures feature perfect symmetry. Think of the Taj Mahal or the Pantheon in Rome—both are prime examples of architecture that begs to be captured symmetrically.5. Negative Space
A building doesn’t always need to fill the frame. Sometimes, a minimalist approach with lots of negative space, such as an open sky or an empty plaza, can make the subject stand out even more.
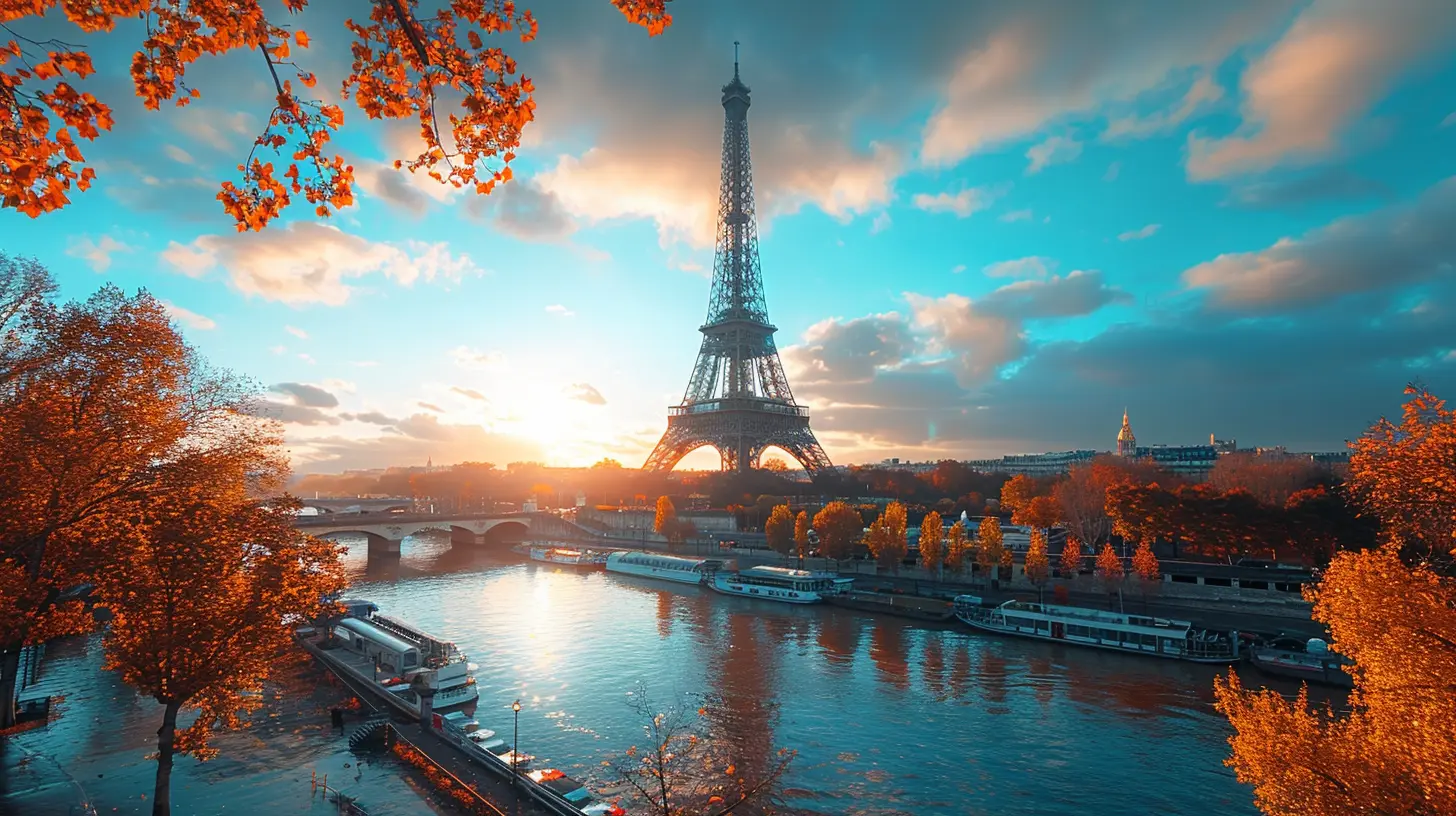
Using Light to Your Advantage
Lighting can make or break an architectural shot. Here’s how to use it effectively:- Golden Hour Magic: Early morning and late afternoon offer soft, warm light that enhances textures and brings out details.
- Midday Challenges: The harsh midday sun creates deep shadows. If shooting at this time, embrace contrast and look for ways to make shadows work in your favor.
- Blue Hour Drama: Shooting right after sunset gives buildings an ethereal glow as city lights begin to turn on.
- Night Photography: Illuminated buildings against a dark sky can look spectacular, but make sure to use a tripod to avoid blur.
A destination’s atmosphere changes depending on the time of day, so experiment with different lighting conditions to see what best captures the essence of the place.
Capturing Details: The Small Things Matter
While grand, sweeping shots are impressive, sometimes the smallest details tell the biggest stories. Architectural details—ornate carvings, unique door handles, stained glass reflections—can reveal the craftsmanship and history embedded in a place.Instead of only snapping the entire building, zoom in on the textures, materials, and intricate designs. These often-overlooked features add depth to your storytelling and give viewers a closer connection to the location.
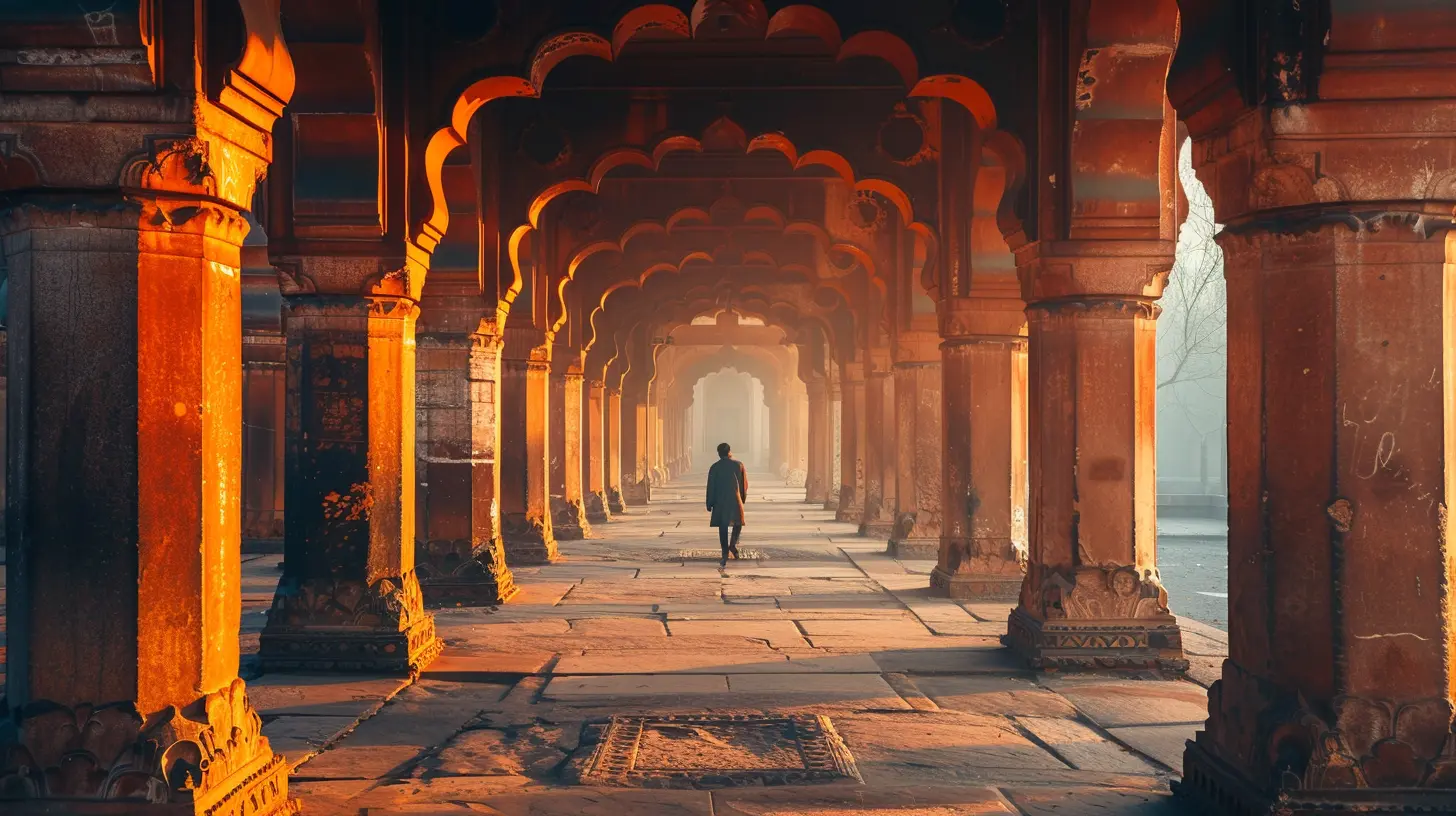
Embracing Candid Moments in Architectural Shots
Architecture photography doesn’t have to be devoid of life. Incorporating people into your shots can add scale, contrast, and emotion. Think of a lone traveler standing against a towering castle or a busy street filled with bustling pedestrians weaving between historic buildings.Candid moments bring authenticity to your shots, showcasing how people interact with their surroundings. A well-timed photo of someone admiring a monument or walking beneath an imposing archway can add layers of meaning to your composition.
Post-Processing: Bringing Photos to Life
Editing is where your photos go from good to great. Here are some key adjustments to enhance your architecture shots:- Straighten Lines: Use perspective correction tools to fix any distortions.
- Adjust Contrast and Shadows: Bring out architectural textures without overdoing it.
- Enhance Colors: Boost hues subtly to emphasize the mood of the destination.
- Remove Unwanted Elements: Minor distractions like stray wires or trash can sometimes take away from an otherwise flawless shot.
Lightroom and Photoshop are excellent tools for refining architectural photography, but always aim for a natural, polished look rather than an overprocessed one.
Telling a Story Through Your Shots
At the end of the day, photography is about storytelling. Think about the message you want your images to convey. Are you capturing the historic charm of a centuries-old town or the sleek modernity of a futuristic metropolis?Try creating a series rather than just isolated shots. A collection of images—wide shots, details, candid moments—can paint a fuller picture of a place. This way, when someone looks at your work, they aren’t just seeing buildings; they’re experiencing the destination itself.
Final Thoughts
Architecture photography is more than just taking pictures of buildings. It’s about capturing the very essence of a place—the emotions, the history, and the artistic spirit embedded in its structures. By focusing on composition, lighting, details, and storytelling, you can transform simple photos into powerful visual narratives.So, next time you travel, don’t just aim for the postcard shot. Look beyond the obvious, experiment with angles, and let the city’s architecture tell its own story through your lens.
all images in this post were generated using AI tools
Category:
Travel PhotographyAuthor:

Pierre McKinney
Discussion
rate this article
2 comments
Maren Baxter
Embrace each unique structure as a storyteller, revealing the heart and soul of every destination beautifully!
February 20, 2026 at 3:19 AM
Pierre McKinney
Thank you! I completely agree—architecture is a powerful storyteller that reveals the essence of a place.
Ariadne Bowers
Thank you for sharing these insightful tips! They beautifully highlight how architecture can tell a destination's story. I can't wait to apply these techniques on my travels!
January 19, 2026 at 3:33 AM
Pierre McKinney
Thank you for your kind words! I'm glad you found the tips helpful, and I can't wait to see how you capture the essence of your travels through architecture!