Mastering Night Photography: Guide to Capturing Cityscapes in Low Light
30 January 2026
Ever found yourself staring at a breathtaking city skyline at night, wishing you could perfectly capture its magic? Night photography is an art form that can bring out the dazzling beauty of urban landscapes, but it also comes with its fair share of challenges. From dealing with low light to mastering the right camera settings, there’s a lot to consider.
But don’t worry—I’ve got you covered. In this guide, we’ll dive into the essentials of night photography, ensuring you capture those stunning cityscapes like a pro. 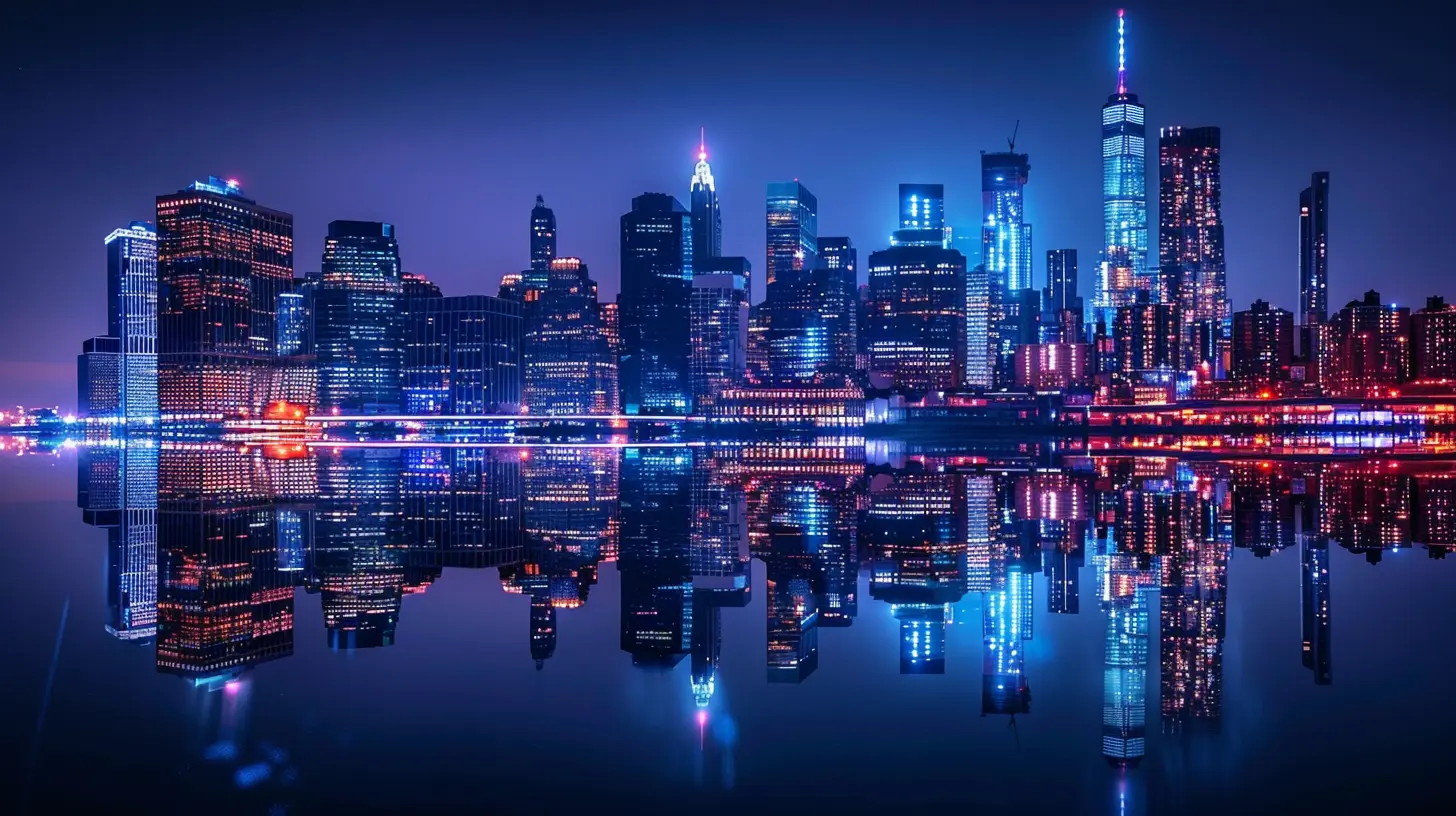
Why Night Photography is a Game-Changer
There’s something almost magical about city lights after dark. Neon signs reflecting off wet streets, skyscrapers glowing against the night sky, and light trails left by passing cars—night photography lets you capture the pulse of a city in a way daytime shots simply can't.Mastering night photography isn’t just about taking pictures; it's about telling a story. And with the right skills and techniques, your cityscape shots can go from basic to breathtaking. 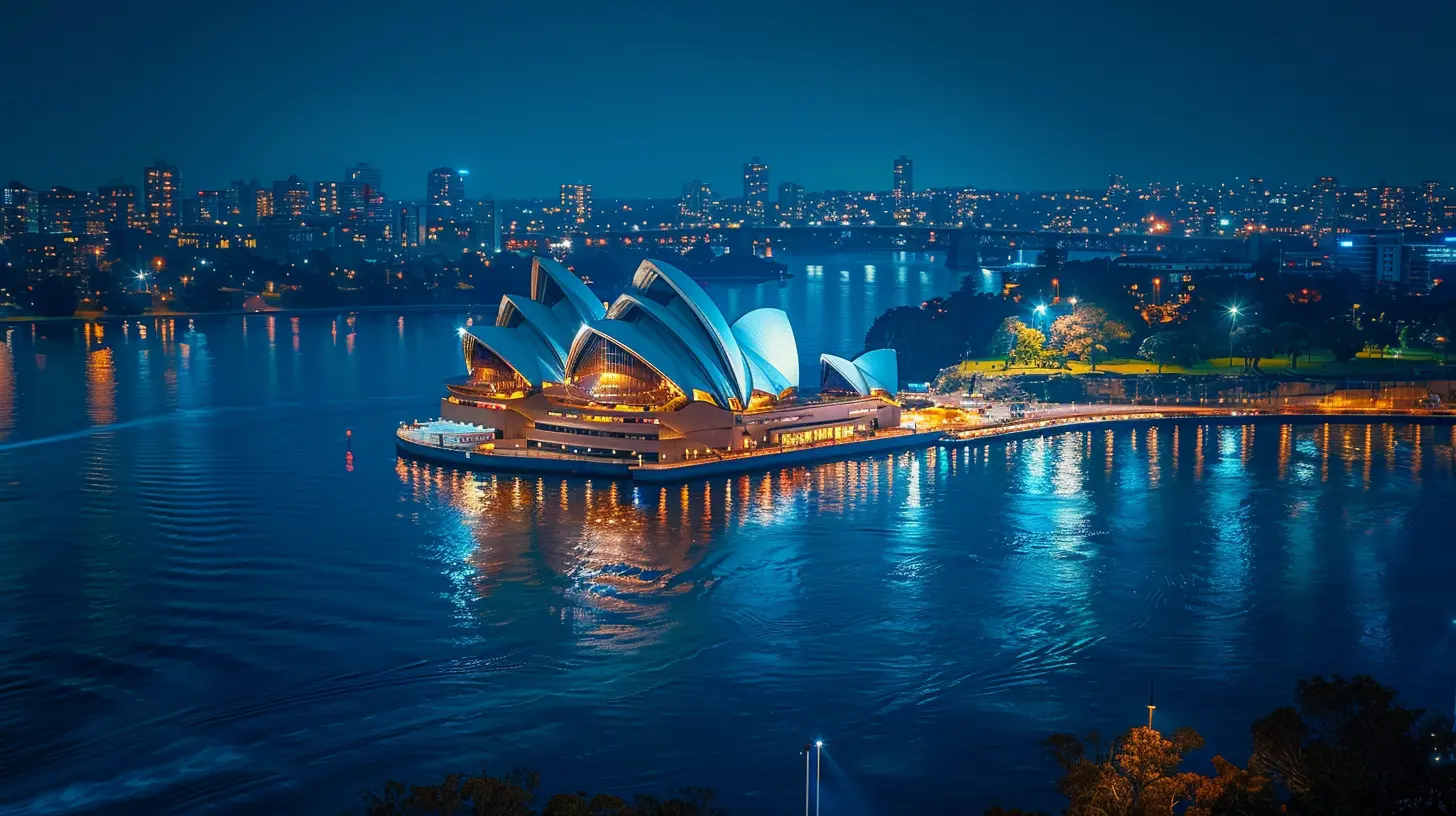
Essential Gear for Night Photography
Before you start snapping away, let’s talk equipment. Sure, modern smartphones have improved their night photography game, but a dedicated camera setup offers unmatched quality. Here’s what you’ll need:1. Camera with Manual Settings
A DSLR or mirrorless camera is your best bet. You need full control over settings like shutter speed, ISO, and aperture—three key elements in low-light photography.2. A Sturdy Tripod
Night photography often requires long exposure shots, and keeping your camera stable is crucial. A tripod eliminates blurriness caused by shaky hands.3. Fast Lenses (Wide Aperture)
A lens with a wide aperture (like f/1.8 or f/2.8) lets in more light, helping you capture brighter images without excessively increasing ISO.4. Remote Shutter Release or Timer
Pressing the shutter button can introduce minor shakes. A remote shutter release (or even using the camera’s built-in timer) helps keep your shots crystal clear.5. Extra Batteries & Memory Cards
Long exposure shots drain battery life quickly. Always bring spares to avoid missing the perfect shot.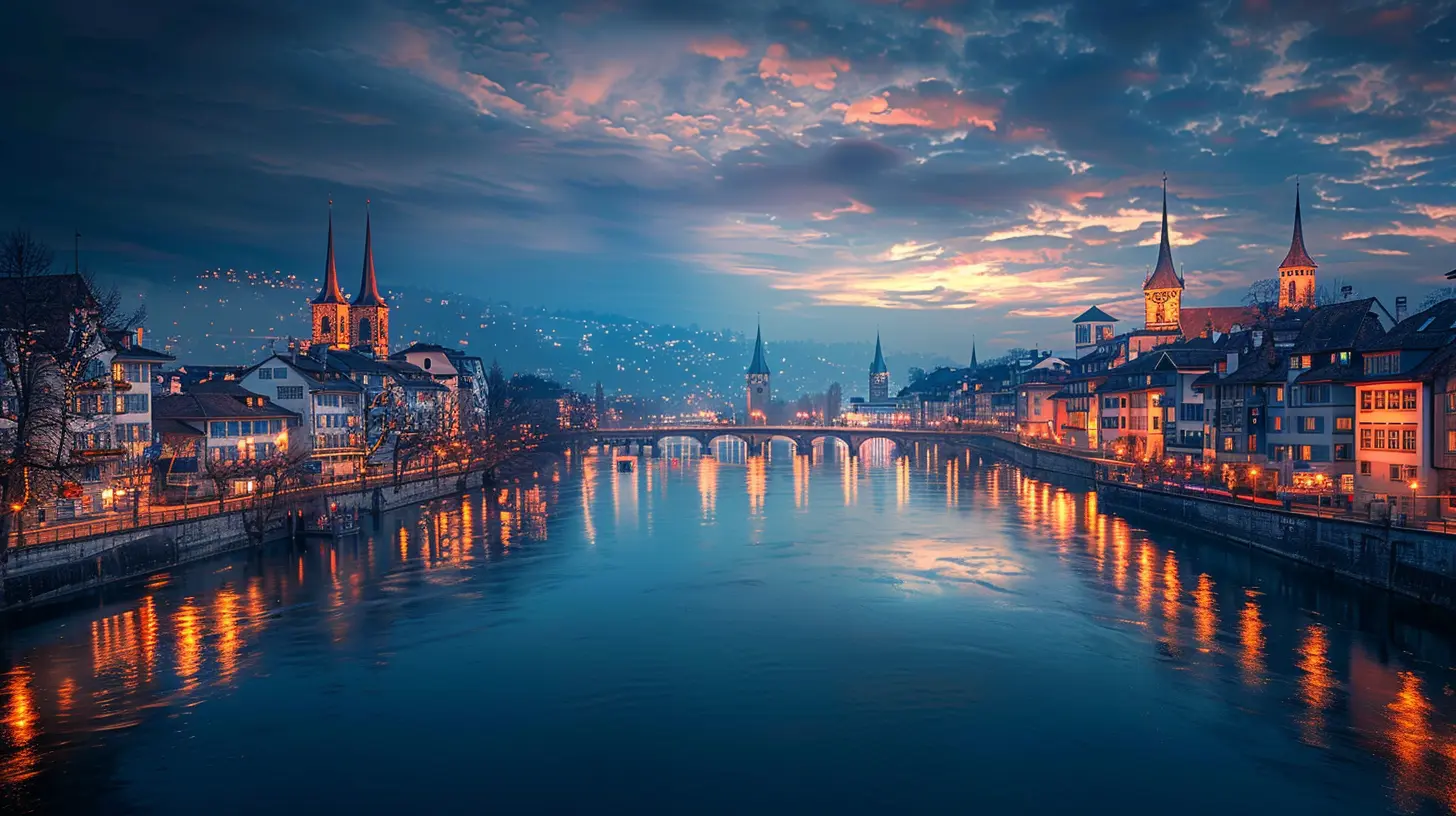
Best Camera Settings for Night Cityscapes
Now that your gear is sorted, let’s talk about settings. Don’t rely on auto mode—night photography requires manual adjustments to get the perfect shot.1. Shoot in RAW
RAW files give you maximum flexibility in post-processing. Unlike JPEGs, RAW captures more details, making it easier to adjust brightness, contrast, and colors without losing quality.2. Adjust Your ISO Sensibly
ISO controls your camera’s sensitivity to light. A higher ISO (e.g., 800-1600) brightens images but can introduce grain (noise). The trick is to use the lowest ISO possible while still getting a well-exposed shot.3. Use a Slow Shutter Speed
Shutter speed determines how long your camera’s sensor is exposed to light. For night shots, a speed of 5 to 30 seconds helps capture enough light. This is especially useful for light trail effects from moving cars.4. Keep Your Aperture Wide (But Not Too Wide)
Aperture (f-stop) affects how much light enters your lens. Shooting between f/2.8 and f/5.6 provides a good balance of brightness and depth of field.5. Focus Manually
Autofocus often struggles in low light. Switch to manual focus and use your camera’s live-view magnification to fine-tune sharpness.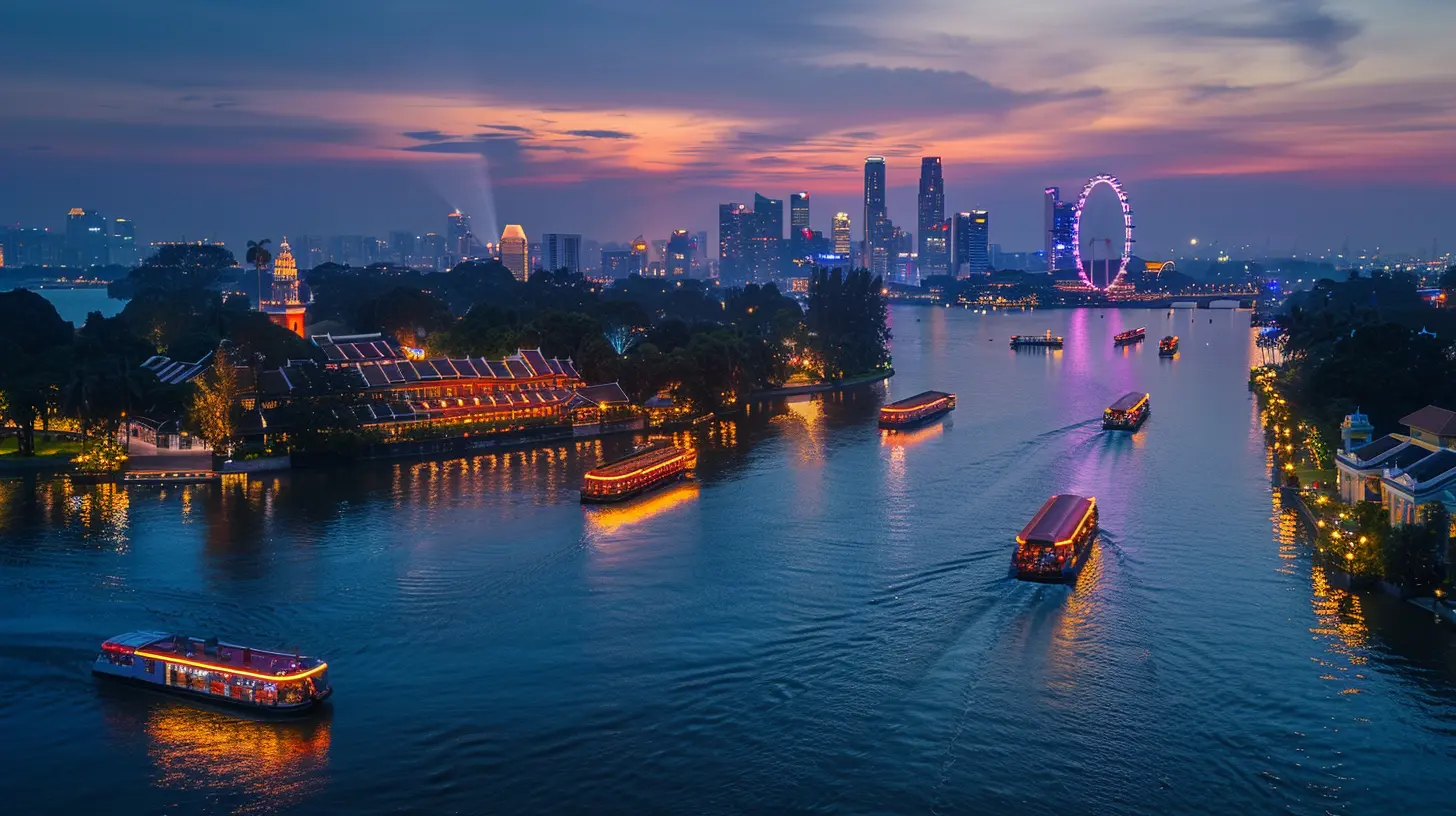
Techniques to Capture Stunning Cityscapes at Night
Now that we’ve nailed the basics, let’s talk techniques to elevate your shots.1. Use Leading Lines
Look for streets, bridges, or railings that naturally lead the viewer’s eye into the scene. Leading lines add depth and make images more compelling.2. Capture Light Trails
Want to add drama? Shoot moving cars using a slow shutter speed (around 10-20 seconds). The result? Beautiful light trails that create a sense of motion.3. Incorporate Reflections
Wet roads, rivers, or even glass buildings can add interesting reflections, making your composition more dynamic.4. Experiment with Different Angles
Instead of shooting straight-on, try low-angle shots or framing buildings creatively. Sometimes, a unique perspective makes a huge difference.5. Play with Silhouettes and Shadows
Use backlit subjects to create silhouettes against neon lights or street lamps. It adds mystery and drama to your shots.Common Mistakes and How to Avoid Them
Even the best photographers make mistakes. Here are some common pitfalls and how to steer clear of them.1. Overexposing Shots
Night photography should embrace shadows, not erase them. Overexposure can wash out city lights. Use histogram guides on your camera to ensure you’re not blowing out highlights.2. Relying Too Much on High ISO
High ISO is necessary sometimes, but using it excessively can make your photos grainy. Try balancing ISO with shutter speed and aperture.3. Forgetting About White Balance
Streetlights and neon signs can create color casts. Adjust your white balance (try “Tungsten” or “Fluorescent” mode) to get accurate colors.4. Not Using a Tripod
Thinking you can hand-hold long exposure shots? Think again! Even the steadiest hands can’t match the stability of a tripod.5. Skipping Composition
A night shot shouldn’t just be about pretty lights. Follow the rule of thirds, frame your subject well, and make sure there’s a focal point in your shot.Editing Your Night Shots Like a Pro
Great shots straight out of the camera are rare—editing is where magic happens! Here’s how you can enhance your night photos:1. Adjust Exposure and Contrast
Brighten up shadow areas without overexposing highlights. Increasing contrast helps city lights pop.2. Reduce Noise
If your image has noticeable grain, use noise reduction tools in Adobe Lightroom or Photoshop to smooth things out.3. Enhance Colors
City lights often have stunning colors. Boost vibrancy and saturation (but don’t overdo it!) to bring your image to life.4. Fix Distortion
Tall buildings can sometimes look warped due to lens distortion. Use perspective correction tools to straighten lines.5. Add a Touch of Sharpening
Night photos can sometimes feel soft. A slight sharpen boost makes details crisper.The Best Cities for Night Photography
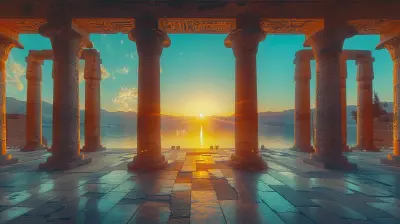
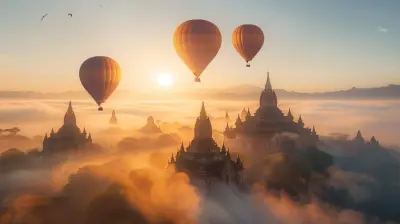
Some cities simply shine brighter at night. If you’re looking for jaw-dropping cityscapes, check out these top spots:- New York, USA – Times Square’s neon glow and skyline views are unbeatable.
- Tokyo, Japan – A paradise of neon lights and futuristic aesthetics.
- Paris, France – The Eiffel Tower shines brilliantly after dark.
- Hong Kong, China – Skyscrapers and waterfront reflections create a dreamy look.
- Dubai, UAE – Modern architecture illuminated against the desert sky.
Whether you’re traveling or in your hometown, every city has unique beauty waiting to be captured!
Final Thoughts
Night photography isn't just about snapping pictures; it’s about capturing the soul of a city when it truly comes to life. With the right gear, proper settings, and creative techniques, you can transform ordinary cityscapes into mesmerizing works of art.So, grab your camera, hit the streets after dark, and start experimenting. Who knows? Your next shot might just be the masterpiece you’ve been chasing.
all images in this post were generated using AI tools
Category:
Travel PhotographyAuthor:

Pierre McKinney
Discussion
rate this article
2 comments
Khloe Russell
This guide offers valuable insights for both beginners and seasoned photographers looking to enhance their night photography skills. The tips on camera settings and composition are particularly helpful. However, including more examples or case studies could further enrich the learning experience for readers.
February 27, 2026 at 5:24 PM
Pierre McKinney
Thank you for your feedback! I'm glad you found the tips useful, and I'll consider adding more examples and case studies in future updates to enhance the guide further.
Ariadne Newton
Stunning tips for breathtaking night cityscapes await!
January 30, 2026 at 4:40 AM
Pierre McKinney
Thank you! I'm glad you found the tips inspiring for capturing those magical night cityscapes!