Must-Know Composition Techniques for Travel Photography
26 February 2026
Travel photography is more than just snapping pictures of beautiful landscapes or historic landmarks. It’s about telling a story, capturing emotions, and evoking a sense of place. A well-composed photograph can transport the viewer, making them feel as if they were right there with you.
But what sets a great travel photo apart from an average one? Composition! Understanding key composition techniques can take your travel shots from ordinary to extraordinary. In this in-depth guide, we'll break down must-know composition methods that will elevate your photography game.

1. Rule of Thirds: The Golden Guideline
The Rule of Thirds is one of the first composition techniques every photographer learns—and for good reason! It’s a simple yet powerful way to create balanced and visually appealing images.How It Works
Imagine your frame divided into a 3x3 grid, with two horizontal and two vertical lines. The idea is to place your subject along these lines or at the intersection points rather than centering them.Why It Works
Our eyes are naturally drawn to these points, making the image feel more engaging and dynamic rather than static and dull. This technique works well for landscapes, portraits, and even street photography.Pro Tip: Most cameras and smartphones have a built-in grid feature—turn it on to help line up your shots effortlessly!
2. Leading Lines: Guiding the Viewer’s Eye
Want to create a sense of depth and direction in your photos? Leading lines are the way to go. These are natural or man-made lines that guide the viewer's eye toward the main subject.Common Leading Lines in Travel Photography
- Roads and pathways- Rivers and shorelines
- Bridges and railways
- Architectural elements like staircases or fences
Why It Works
Leading lines draw the viewer into the image, creating a feeling of movement and purpose. They add a sense of depth, making the image feel immersive.Pro Tip: Experiment with low angles to emphasize leading lines and create a strong impact.
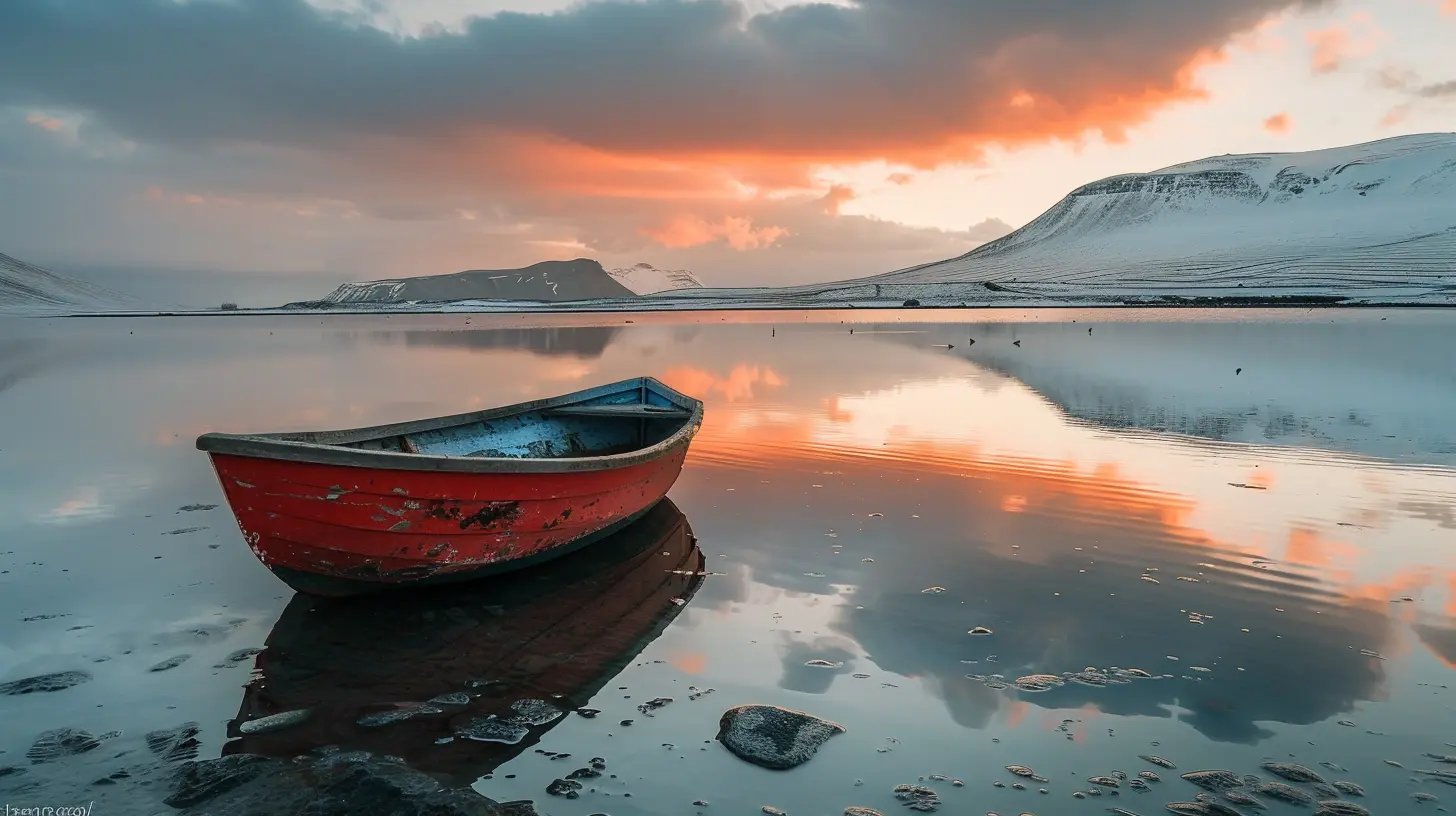
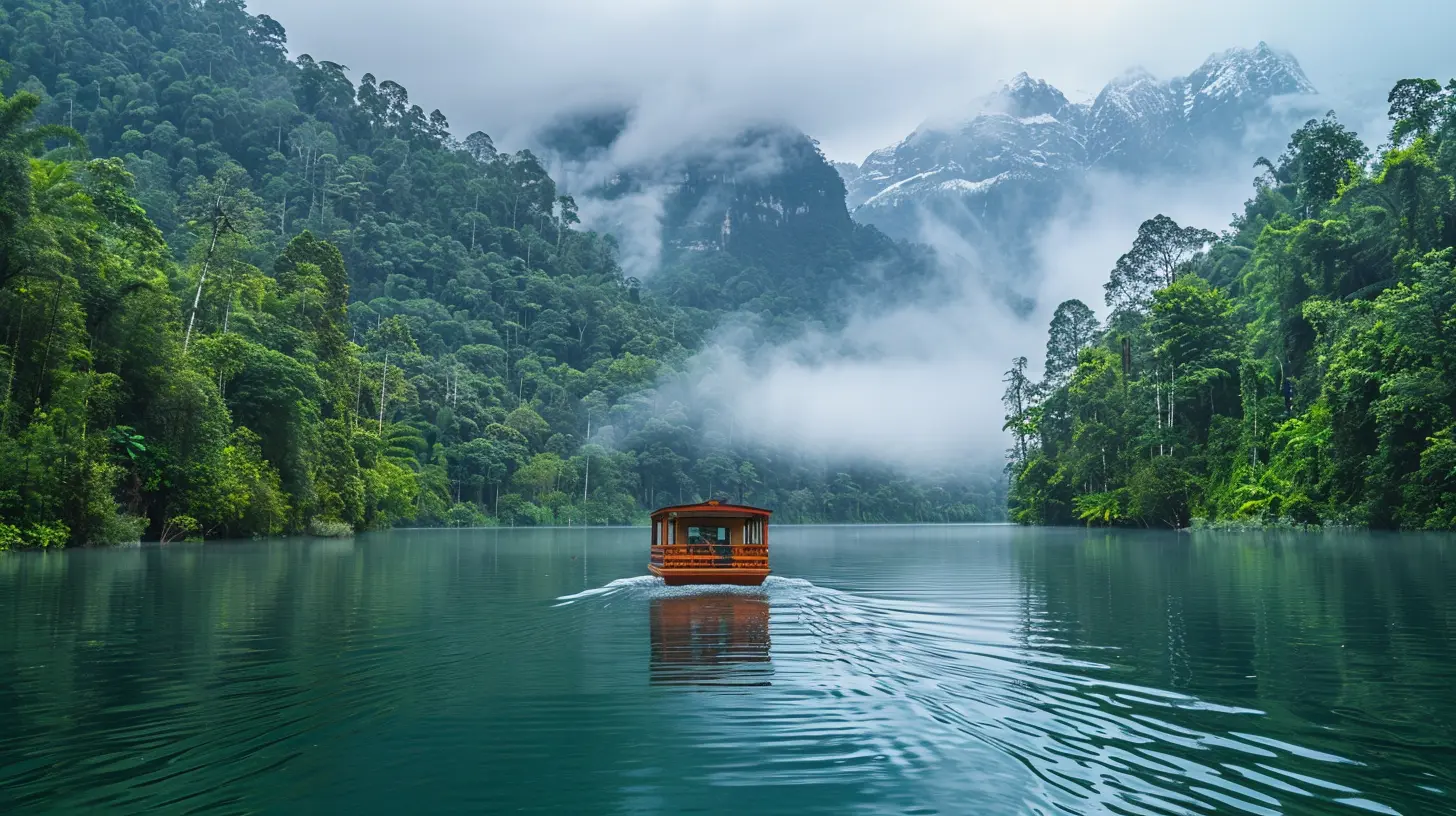
3. Symmetry and Reflections: Perfectly Balanced Shots
There's something incredibly satisfying about a perfectly symmetrical photo. It creates a sense of order and stability. Symmetry works wonderfully with architecture, landscapes, and water reflections.How to Use Symmetry
- Find subjects that naturally create symmetry, like bridges, temples, or roads.- Use reflections from lakes, puddles, or glass windows to double the visual impact.
- Center the subject perfectly for an aesthetically pleasing balance.
Pro Tip: When shooting reflections, try placing the horizon in the center to create a near-perfect mirror effect.

4. Framing: Drawing Focus to the Subject
Framing is all about using natural elements to "frame" your subject. This technique directs attention to the focal point while adding layers to the image.Natural Frames to Look For
- Archways and doorways- Tree branches
- Windows and tunnels
Why It Works
Framing helps prevent distractions, keeping the focus on your subject while adding depth and perspective. It also gives your shot a sense of storytelling—almost like peeking into another world.Pro Tip: Experiment with partial frames, like capturing a city view through a small opening, to add mystery and intrigue.
5. Foreground Interest: Adding Depth
Many beginners focus solely on the background, forgetting about the foreground. But adding foreground elements can create depth and dimension, making your travel photos stand out.Ideas for Foreground Interest
- Flowers or rocks in the front of a landscape shot- Street signs or lanterns in urban photography
- People or objects partially entering the frame
Why It Works:
A well-placed foreground element draws the viewer into the photo, making them feel like they're part of the scene rather than just looking at it.
Pro Tip: Use a wide aperture to keep the foreground sharp while slightly blurring the background for a professional look.
6. The Golden Ratio: Nature’s Perfect Balance
The Golden Ratio, also known as the Fibonacci Spiral, is a naturally occurring mathematical ratio that appears in art, nature, and yes—photography. Similar to the Rule of Thirds but more advanced, this technique involves placing the subject along a spiral curve within the frame.How to Use It
- Imagine a swirling spiral in your frame and position key elements along it.- Works great for cityscapes, portraits, and nature photography.
- Ideal for creating a natural, eye-pleasing composition.
Pro Tip: If you find the Golden Ratio too complex, stick to the Rule of Thirds—both techniques create beautifully balanced images.
7. Negative Space: Less is More
Negative space refers to the empty areas surrounding your subject. Instead of filling the frame with distractions, giving your subject "breathing room" can make your composition more powerful.When to Use It
- When you want to highlight a lone traveler in a vast landscape.- To emphasize emotion in minimalistic photography.
- When shooting high-contrast or moody shots.
Why It Works:
Negative space creates simplicity, allowing the viewer to focus on the subject without distractions. It also evokes a sense of peace and solitude.
Pro Tip: Play around with sky, water, or blank walls as negative space to create striking minimalist compositions.
8. Diagonal Lines: Adding Dynamism
Horizontal and vertical lines create stability, but diagonal lines add energy and movement to your photos. They create a sense of action, making the image feel alive.Where to Find Diagonal Lines
- Sloping hills and mountain paths- Stairs and escalators
- Shadows and light patterns
Why It Works
Diagonal lines guide the eye naturally across the frame, adding tension and drama to the shot.Pro Tip: Tilt your camera slightly to create a more dynamic perspective using diagonal lines.
9. Layering: Capturing the Full Scene
Want to add depth and dimension to your images? Layering is the perfect technique. By including foreground, middle ground, and background elements, you create a three-dimensional effect.How to Layer Effectively
- Frame a mountain view with tree branches in the foreground.- Capture a busy marketplace with multiple layers of activity.
- Show different planes of architecture, from alleys to towering skylines.
Pro Tip: Adjust your aperture to keep all layers in focus or blur selective elements for a storytelling effect.
10. Color and Contrast: Mastering Visual Impact
Colors play a significant role in how a photo feels. Understanding color composition can help you create eye-catching and emotionally powerful images.Tips for Using Color
- Use complementary colors (like blue and orange) for a vibrant feel.- Stick to monochrome tones for a moody effect.
- Utilize color blocking by capturing subjects in bright, contrasting outfits against neutral backgrounds.
Pro Tip: Use color psychology—warm colors evoke energy, while cool tones feel calming and serene.
Final Thoughts
At its core, travel photography is about storytelling. With the right composition techniques, you can turn an ordinary snapshot into a compelling visual narrative. Whether you're trekking through mountains, strolling through bustling markets, or capturing serene sunsets, mastering these composition principles will make your photos more engaging, balanced, and professional.So, next time you’re out with your camera, take a moment to think about your composition. A small adjustment can make a world of difference in capturing the beauty of your travels!
all images in this post were generated using AI tools
Category:
Travel PhotographyAuthor:

Pierre McKinney
Discussion
rate this article
2 comments
Eden Martinez
This article is a treasure trove for aspiring travel photographers! I’m particularly curious about how different composition techniques can transform ordinary scenes into captivating images. Which specific techniques do you find most effective in reflecting the essence of a destination? Can't wait to explore these tips!
April 8, 2026 at 1:54 AM
Marie Wagner
Mastering composition techniques elevates your travel photography. Embrace these tips to capture stunning images that truly tell your story.
February 28, 2026 at 4:17 PM
Pierre McKinney
Thank you! I’m glad you found the tips helpful for enhancing your travel photography. Happy shooting!