How to Capture Stunning Mountain Photography
13 February 2026
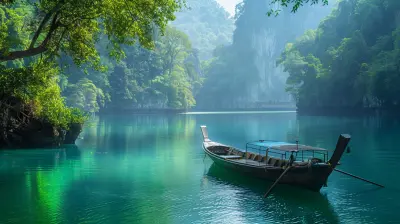
Have you ever stood before a vast, towering range of mountains and thought, “Wow, how do I even begin to capture this beauty on camera?” You’re not alone. Mountains are majestic, powerful, and incredibly photogenic—but getting them to look as breathtaking in a photo as they do in real life? That takes more than just pointing and shooting.
Whether you're an enthusiastic traveler, a budding photographer, or just someone with a phone and a love for the outdoors, this guide will walk you through how to master mountain photography step by step. Get ready to elevate your shots—literally and figuratively!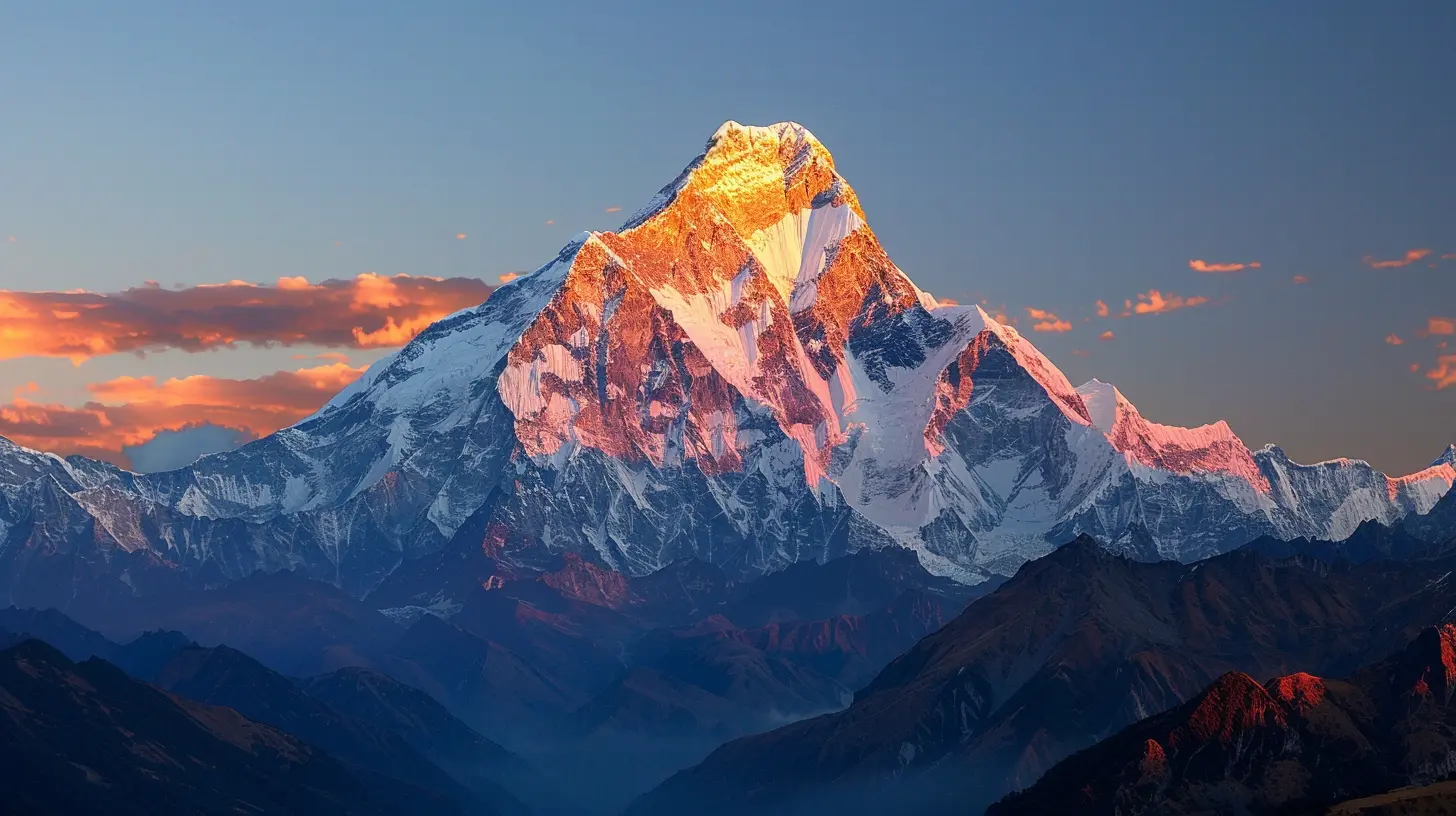
Table of Contents
1. Why Mountain Photography Is So Captivating2. Essential Gear for Mountain Photography
3. Planning Your Mountain Shoot
4. Best Times of Day for Killer Shots
5. Composition Tips to Make Your Photos Pop
6. Lighting: Your Secret Weapon
7. Playing With Weather and Atmosphere
8. Capturing Scale and Perspective
9. Editing Techniques for Magical Results
10. Safety and Ethics for Mountain Photography
11. Final Thoughts
1. Why Mountain Photography Is So Captivating
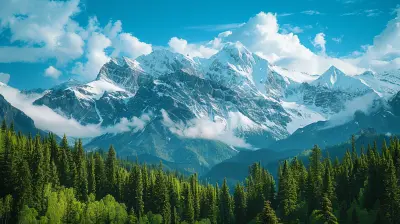
Mountains stir something deep in our souls. They're ancient, mysterious, and awe-inspiring. They symbolize challenge, freedom, and the beauty of nature untamed. When we photograph them, we’re not just taking pictures—we’re trying to bottle that emotion, that sense of grandeur.And let’s be real: they look darn amazing on Instagram too.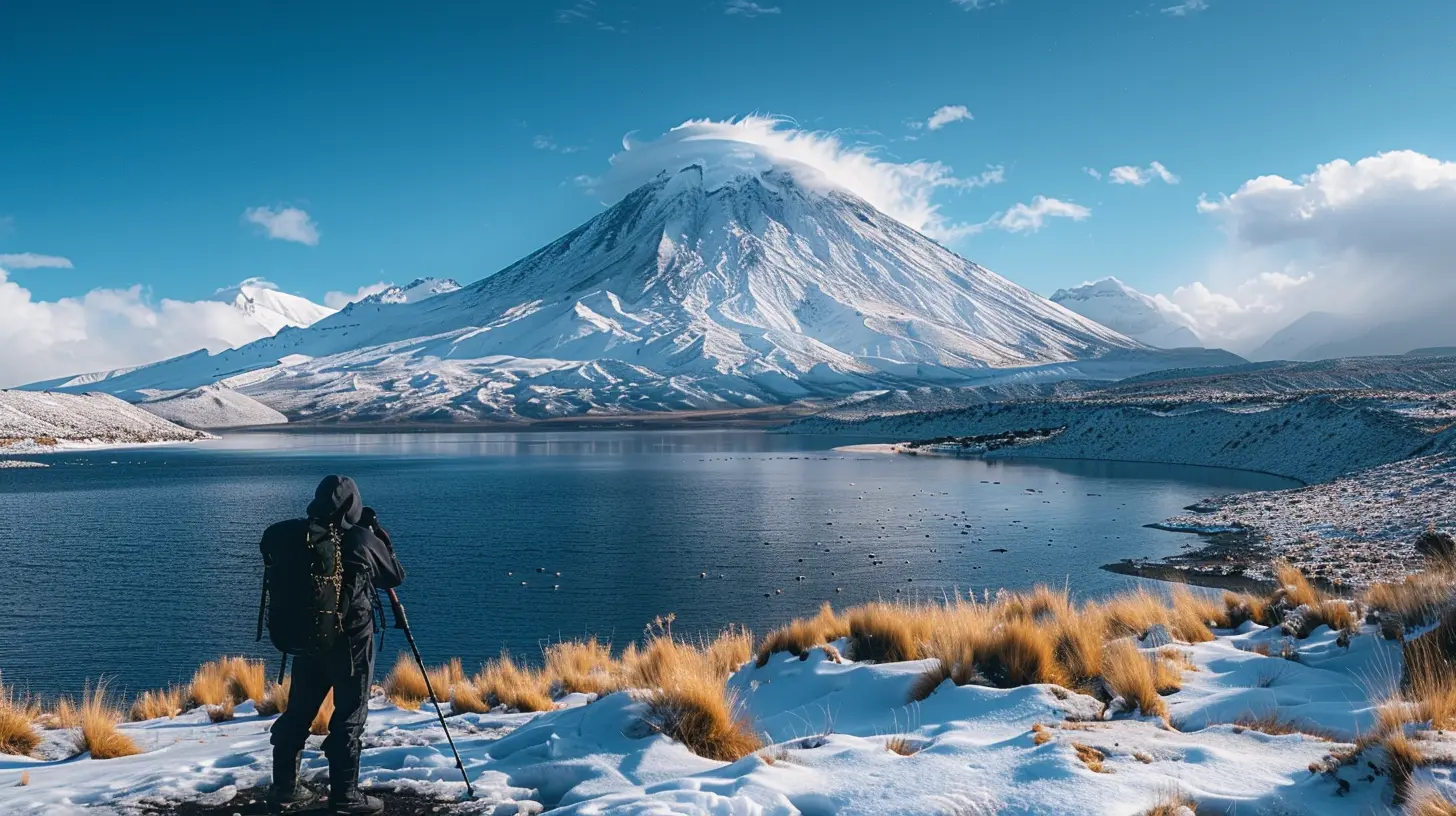
2. Essential Gear for Mountain Photography
Before you lace up your boots and head for the hills, make sure you’ve packed the right tools. Like any good craftsman, you need the right gear to bring your vision to life.Camera
You don’t need a fancy DSLR, but it helps. A good mirrorless camera also does wonders. If you’re using a smartphone, make sure it supports RAW images and has a wide dynamic range.Lenses
- Wide-angle lens (16–35mm): Perfect for those sprawling, panoramic views.- Telephoto lens (70–200mm): Great for isolating peaks or zooming into dramatic ridges.
- Prime lens (35mm or 50mm): For capturing details and storytelling shots.
Tripod
Mountains mean changing light and long exposures. A lightweight but sturdy tripod is key for keeping your shots sharp—especially during magic hours.Filters
- Polarizing filters enhance sky contrast and reduce glare.- ND filters help with long exposures in daylight.
Don’t Forget…
Extra batteries, SD cards, lens wipes, weather protection for your gear, and a solid backpack to carry it all.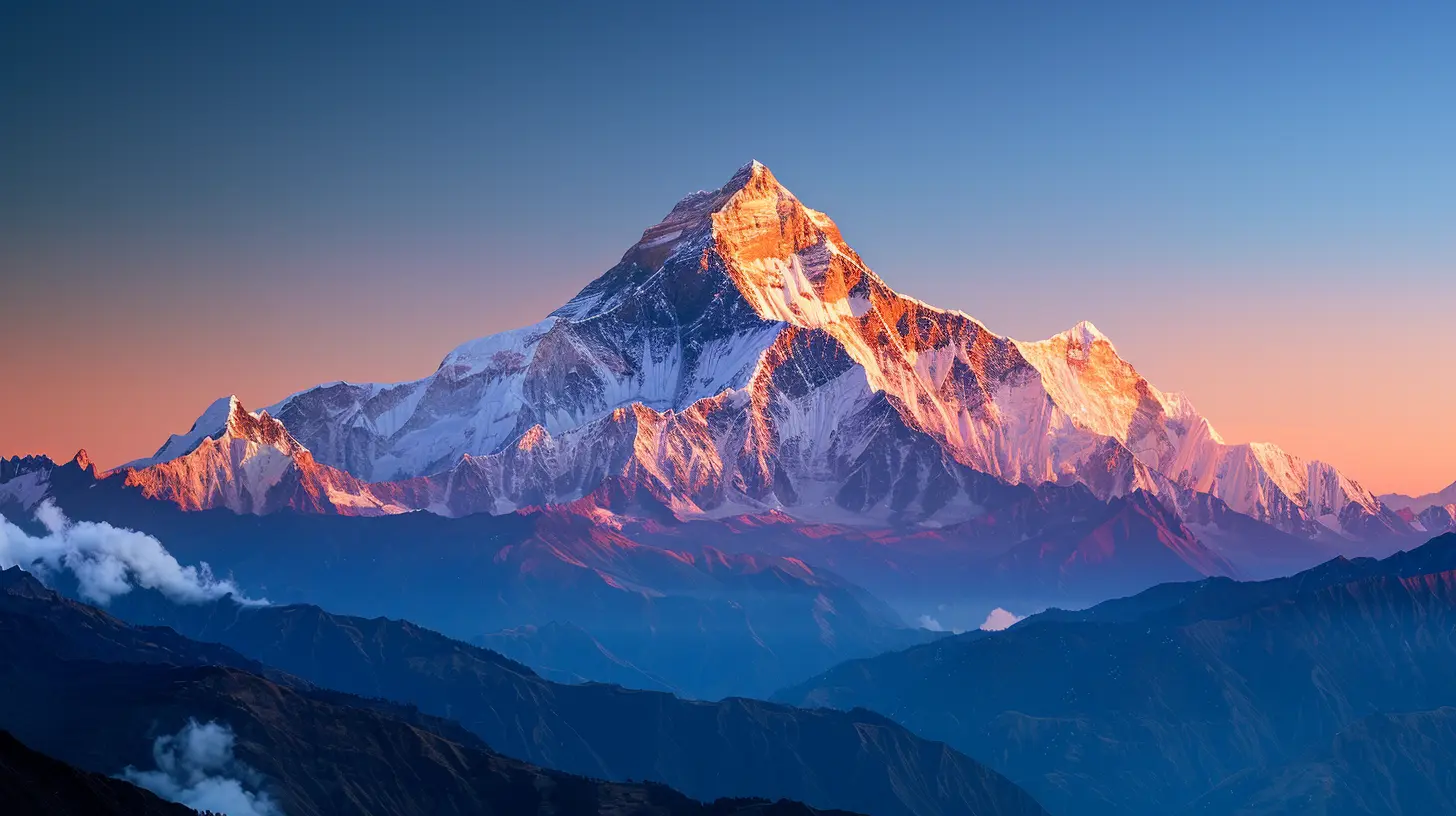
3. Planning Your Mountain Shoot
Don’t just hike and hope. A little planning goes a loooong way.Research Locations
Use Google Earth, Instagram geotags, and photography forums to scout locations. Look for unique angles, hidden spots, or lesser-known peaks.Check the Weather
Mountains have moody weather that can change on a dime. Use apps like Windy, AccuWeather, or NOAA. Look for forecasts during sunrise, golden hours, or when cloud cover is broken up (that’s when magic happens).Time Your Visit
Avoid harsh midday light. Plan your hikes so you reach your spot during sunrise or sunset. That means sometimes hiking in the dark with headlamps. Worth it? Every single time.4. Best Times of Day for Killer Shots
Timing is everything—especially in mountain photography.Sunrise
The golden light washes over peaks, creating rich shadows and highlights. Bonus: fewer people on trails and a peaceful, serene vibe.Sunset
Warmer tones and dramatic lighting fill the sky. The shadows become longer, and the mountains often glow pink or orange—like they’re blushing.Blue Hour and Golden Hour
The 30 minutes before sunrise and after sunset = photographer’s heaven. Soft light, rich colors, and no harsh shadows.5. Composition Tips to Make Your Photos Pop
Anyone can snap a mountain, but what makes a shot stop someone mid-scroll?Rule of Thirds
Place the mountain peak off-center. Use the grid lines in your camera to align the elements and create balance.Leading Lines
Use trails, rivers, or ridgelines to naturally guide the eye toward the mountain.Layers
Mountains often form natural layers. Capture the foreground, midground, and background to add depth and story.Foreground Interest
Include rocks, trees, a tent, or even yourself in the frame to give a sense of scale and make the shot more relatable.Symmetry and Reflections
Lakes or snow act like mirrors. Flip your world upside down (not literally) with reflection shots for that “wow” effect.6. Lighting: Your Secret Weapon
Light is everything in photography—and it behaves like a diva in the mountains.Side Lighting
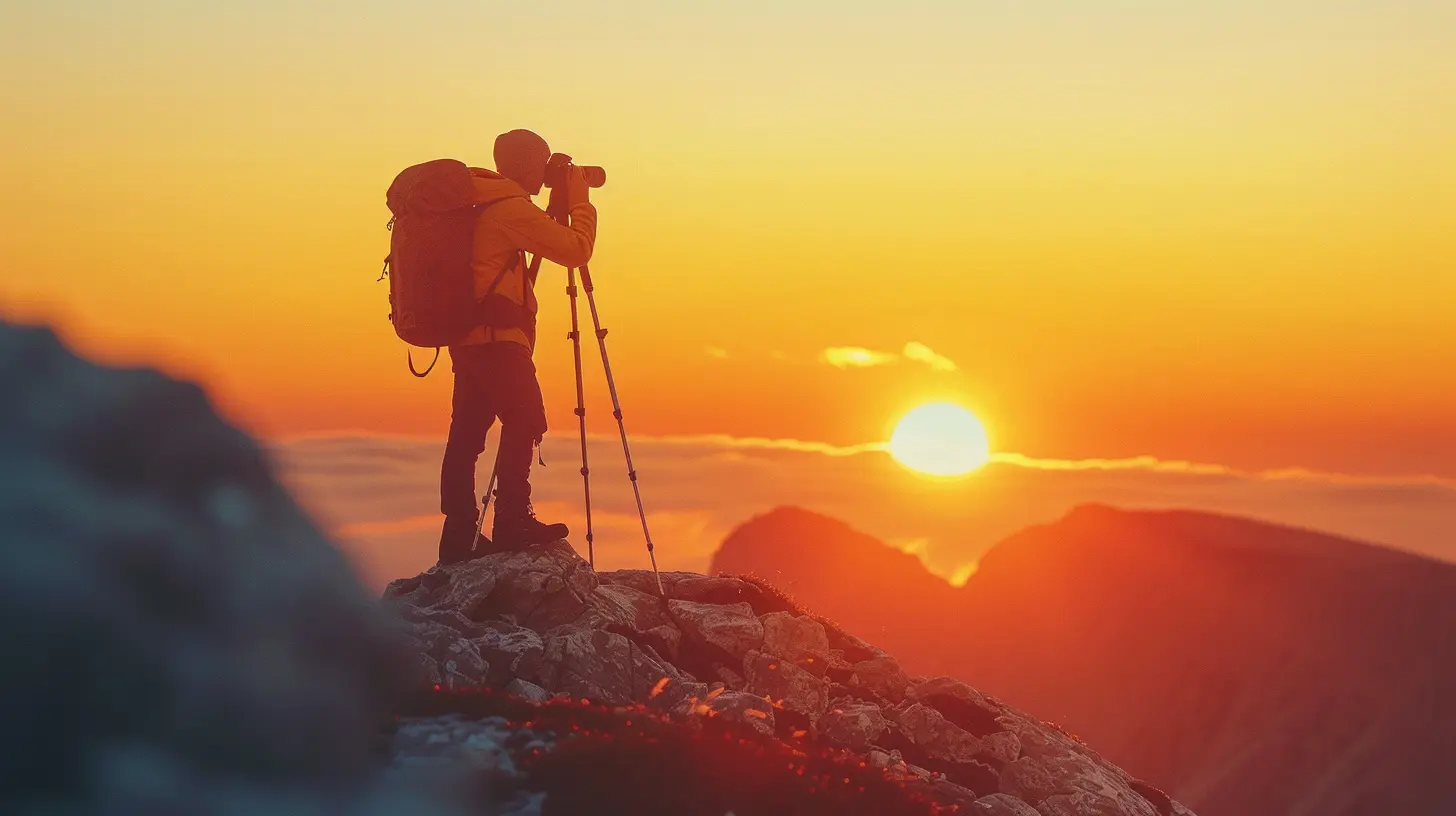
This reveals textures on the mountain’s face. Think "chiseled jawline in Hollywood lighting."Backlighting
Sun behind the peak? Magic. It creates a silhouette and a dramatic mood.Soft Light
Cloudy or misty days offer diffused light—perfect for avoiding harsh contrasts and capturing mood.7. Playing With Weather and Atmosphere
The best mountain photos often come in the worst weather. Crazy, right?Fog & Mist
Mystical and moody. Great for creating depth and emotion.Storms
Cloud drama = photo drama. Be careful but don’t shy away from a little thunder.Snow & Ice
Bring out those contrast sliders! White snow against dark rocks = visual candy.Sun Rays & Rainbows
When sunlight breaks through clouds? You’ve hit the jackpot.8. Capturing Scale and Perspective
Mountains are huge. But in a photo? They can look like hills unless you give them context.Use a Subject
A person or object tells your viewer just how massive that mountain really is. Ever seen a tiny human next to Everest? Exactly.Drone Shots
Aerial views show size, shape, and surroundings in a way ground shots can’t. Just check local regulations before letting your drone fly.Wide vs. Telephoto
Use wide lenses for grandeur, telephoto for compression and making peaks look more imposing.9. Editing Techniques for Magical Results
Taking the shot is half the story. Post-processing is your chance to polish your jewel.Tools of the Trade
Lightroom and Photoshop are industry standards. Apps like Snapseed or VSCO are great for mobile editing.Adjust:
- White balance to match the mood- Contrast and clarity to pull out textures
- Shadows and highlights to balance exposure
- Color grading for that personal touch
Just don’t overdo it. A mountain photo should still look like… a mountain.
10. Safety and Ethics for Mountain Photography
Remember: no photo is worth your life.Stay Safe
- Check trail conditions.- Bring proper gear, food, and water.
- Let someone know your plan.
Be Respectful
- Stick to trails.- Don’t disturb wildlife.
- Leave no trace. Seriously—nature’s not your prop. It’s your host.
11. Final Thoughts
Mountain photography is more than just a click of a button—it's an experience. It's the breathlessness at 10,000 feet, the sunrise that paints peaks gold, the quiet moments after a storm when everything feels brand new.So grab your camera, pack your bag, and go chase those mountains. Your next epic shot is just a hike away.
And hey, don’t be discouraged if your early attempts aren’t masterpieces. Every great photographer started with blurry, overexposed shots. What matters is the journey—up the trail and behind the lens.
Happy shooting, mountain lover!
all images in this post were generated using AI tools
Category:
Mountain AdventuresAuthor:

Pierre McKinney
Discussion
rate this article
2 comments
Drew Cole
Loved this article! Mountain photography can be challenging, but your tips make it feel achievable. I can't wait to try out those techniques on my next hike. Thanks for the inspiration!
March 9, 2026 at 5:22 AM
Pierre McKinney
Thank you so much! I'm glad you found the tips helpful. Enjoy your hike and happy shooting!
Ulysses Soto
What a fantastic guide! Your tips on capturing the beauty of mountains are both inspiring and practical. I can't wait to put them into practice on my next adventure. Happy shooting!
February 16, 2026 at 5:29 AM
Pierre McKinney
Thank you so much for your kind words! I'm glad you found the tips helpful. Happy shooting on your next adventure!